Raspberry Pi AI Part III: Live From New York, It’s Baby’s First Web App with Flask
Continuing my series on making an AI something on a Raspberry Pi, I’ve decided to switch the scope of this project. In the closer of the last blog post, I noted that the Pi’s camera doesn’t handle closeups very well. This would pose a problem when trying to scan and capture the details of a small cardboard playing card. So let’s switch it up, we have the foundation, let’s make a home assistant.
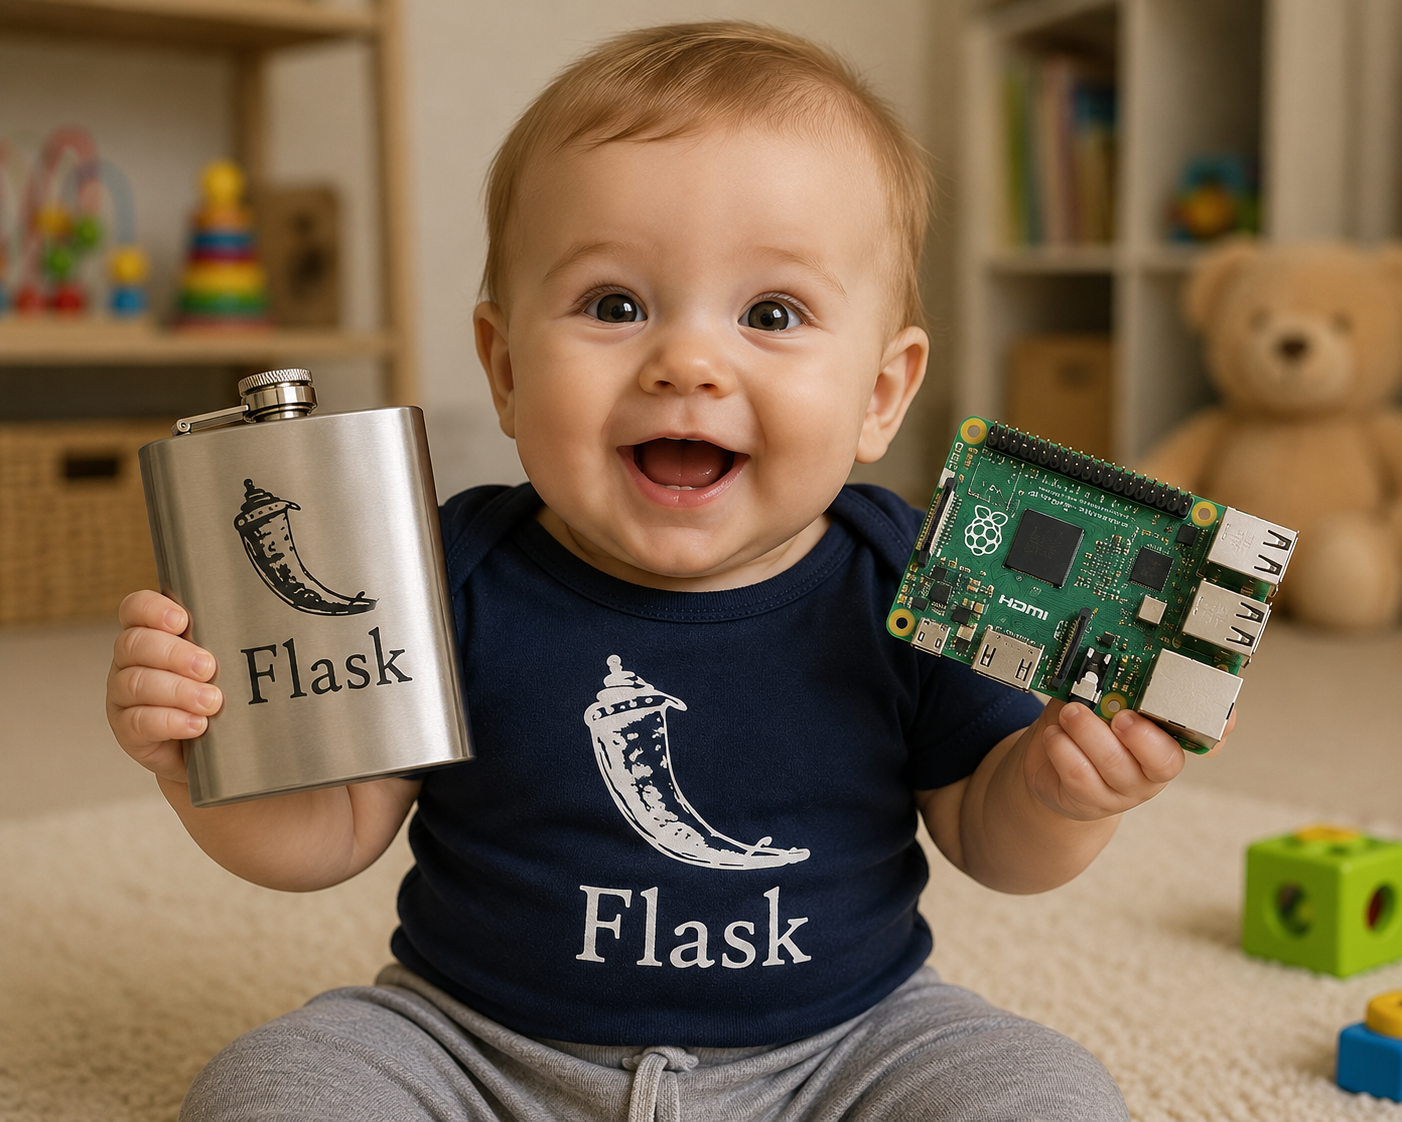
Sneaking a Drink from the Flask
I have some Python experience, but I’ve never dealt with Flask. I had to review and re-review the documentation in order to build a small web dashboard for this project.
First we’re going to need a repo, or a folder structure, for this project. I through a folder in the /Home/Admin folder on the Pi. I immaturely named this folder HomeAss, so that I can giggle to myself for a few moments of respite while deving this up.

Now that HomeAss is built, you’ll need to flesh out the rest of your directory. Create a “templates” folder and a “static” folder. This is case sensitive. Do not stray from the flock on this one. We need these specific folders for Flask to recognize where files are stored.

Let’s make a Python file; you can use nano, VIM, or Thonny to write your Python app, you’re choice! Name the file “app.py” so that Flask knows what’s the main file.
Below is the Python code for the app, or you can grab it from GitHub, but be warned, I am building this as I go and committing to the same repo, so next time it might be vastly different than it is now.
from flask import Flask, render_template
import psutil

app= Flask(__name__)

@app.route("/")
def home():
        cpu = psutil.cpu_percent()
        ram=psutil.virtual_memory().percent

        return render_template(
            "index.html",
            cpu=cpu,
            ram=ram
        )

app.run(host="0.0.0.0",port=5000)
You’ll also need an HTML template file within your templates folder. You should write something very simple like this:
<!DOCTYPE html>
<html>

<head>
	<title> Baby's First Dashboard </title>
</head>

<body>
	<h1> AI Home Dashboard </h1>
	<p> CPU Usage: {{ cpu }}%</p>
	<p>RAM Usage: {{ ram }}%</p>
</body>

</html>
Now let’s launch our first Flask webapp! This should display the CPU and RAM usage of our Raspberry Pi. Navigate to http://127.0.0.1:5000 on your Pi or navigate to the IP address of your Pi followed by port 5000 in a browser on a device within your home network to see your work.

Let’s Pretty it Up
Now you can add some CSS styling, but hold on, we’re not going to become fullstack devs overnight. Let’s use bootstrap in our HTML to pretty up our dashboard. After you add your stylings, restart your Python app, so the changes apply.

<!DOCTYPE html>
<html>
<link
	href="https://cdn.jsdelivr.net/npm/[email protected]/dist/css/bootstrap.min.css"
	rel="stylesheet">
<head>
	<title> Baby's First Dashboard </title>
</head>

<body class ="bg-dark text-light">
	<h1 class ="mb-4">
		 AI Home Dashboard
	 </h1>
	<div class="card bg-secondary mb-3">
		<div class ="card-body">
		<h3>CPU Usage</h3>
			<p>{{ cpu }}%</p>
		</div>
	</div>

	<div class="card bg-secondary mb-3">
		<div class ="card-body">
		<h3>RAM Usage</h3>
			<p> {{ ram }}%</p>
		</div>
	</div>
</body>

</html>
Live From My Basement, It’s Saturday Night
Last thing I want to do is add a live camera feed, so that we’re really utilizing our Pi.
We’ll need to install a new module in order to get this working: OpenCV
pip install opencv-python --break-system-packagesDon’t be alarmed by the switch at the end! It’s nothing to worry about. Since this library is externally managed, Python throws a fit when you try to install it. This flag forces the install.
Now that we have our new OpenCV library for video feeds, let’s make some serious changes to our app.
from flask import Flask, render_template, Response
from picamera2 import Picamera2
import cv2
import psutil

app= Flask(__name__)

camera = Picamera2()
camera.configure(camera.create_preview_configuration(main={"size": (640,480)}))
camera.start()

def generate_frames():
	while True:
		frame = camera.capture_array()
		##Convert to JPG
		ret,buffer =cv2.imencode('.jpg',frame)
		frame = buffer.tobytes()
		yield (b'--frame\r\n'
			b'Content-Type: image/jpeg\r\n\r\n' + frame + b'\r\n')


@app.route('/video')
def video():
	return Response(generate_frames(),
		mimetype='multipart/x-mixed-replace; boundary=frame')

@app.route("/")
def home():
	cpu = psutil.cpu_percent()
	ram=psutil.virtual_memory().percent

	return render_template(
		"index.html",
		cpu=cpu,
		ram=ram,
		camera=camera
	)

if __name__ == '__main__':
	app.run(host="0.0.0.0",port=5000)
And we need to update our index.html file with the following:
<!DOCTYPE html>
<html>
<link
	href="https://cdn.jsdelivr.net/npm/[email protected]/dist/css/bootstrap.min.css"
	rel="stylesheet">
<head>
	<title> Baby's First Dashboard </title>
</head>

<body class ="bg-dark text-light">
	<h1 class ="mb-4">
		 AI Home Dashboard
	 </h1>
	<div class="card bg-secondary mb-3">
		<div class ="card-body">
		<h3>CPU Usage</h3>
			<p>{{ cpu }}%</p>
		</div>
	</div>

	<div class="card bg-secondary mb-3">
		<div class ="card-body">
		<h3>RAM Usage</h3>
			<p> {{ ram }}%</p>
		</div>
	</div>
	<div>
	<h3>Live Feed</h3>
		<p><img src="/video"> </p>
	</div>
</body>

</html>
Now run this bad boy, and again, stare at your double chin for a moment while you take in the dopamine from actually getting it to work.

What Can Go Wrong Will Go Wrong && Lessons Learned
I fought with coding issues for 15 minutes when trying to get my dashboard to first load in a browser. Turns out, because I was running it straight from Thonny, and not calling it via Terminal, Flask was not able to find my HTML template files.
New skill unlocked! GitHub. Up until now, I’ve just been copying files over to my PowerShell GitHub repo. Today I learned how to clone a local folder and commit it to github from command line. Let me just say, “Oof! that was a doozey!”.
The camera could use some color correction. I’m pretty exhausted. We’ll deal with that another day.